Painting 3/4 - Painting loose

- Composition
- Coloured base (underpainting)
- Painting loose
- Adding details to the focal points
Painting is not limited to just one right way, except when the constraints come from the painting medium. For example, we cannot apply a dark layer of watercolour and then try to cover it with white paint. But there is one "right" way so that we do not lose interest in painting during the process. The trick is to paint in layers, with each subsequent layer becoming more detailed.
We are now done with steps 1 and 2. In this step 3, we need to cover the whole picture with the actual colors of the objects, unless we really want to leave the sky yellow ;) We use a large enough flat brush that will prevent us from unnecessary detailing. Even if the size of our picture is 20x20 cm, we need to use a brush whose width is at least 1 cm.
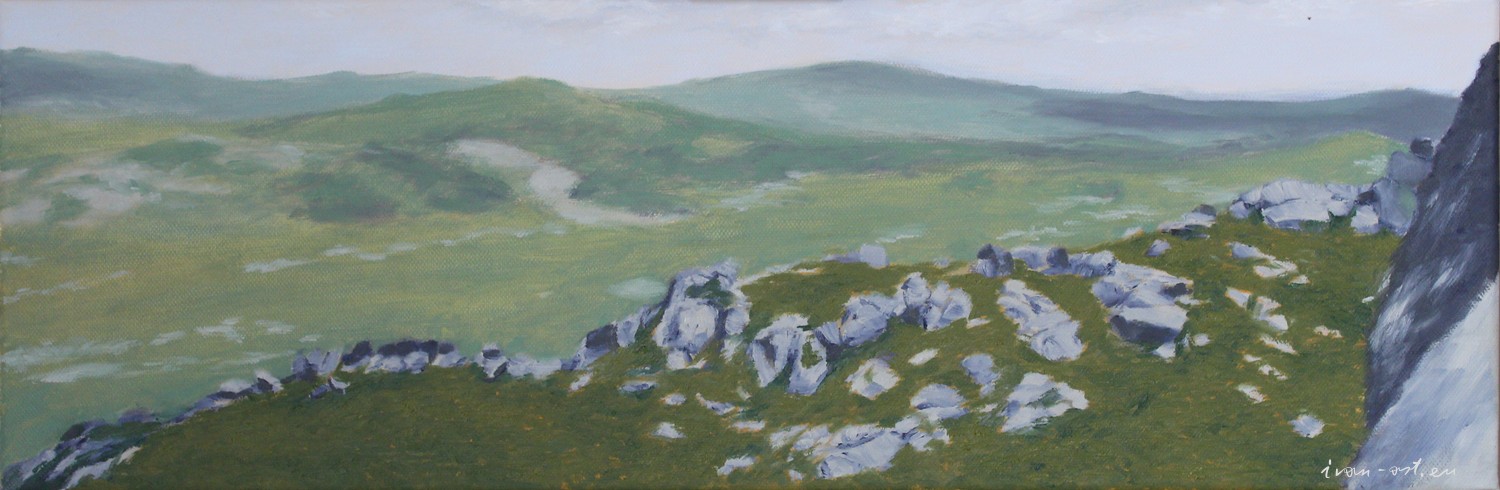
The farther objects should be paler, painted with thin layers of paint so that the relief of the canvas can be seen through them. This enhances the effect of perspective. For closer objects, we can apply thicker layers of paint with more saturated colors. All the time we take into account the light and shadows of the colored base. It is very easy to confuse the tone of the sky and make it darker than it should be. We add white when needed and make sure to test the tone elsewhere before we start applying it to the picture! The latter applies especially to acrylic paints. With oils we can afford to spread them over a larger area or toss them with a rag if we make a mistake, but with acrylic paints, the layer would have dried out before we could tell if the tone was okay or too dark.